I’m currently polishing a p.b. biography and a fiction picture book that I’ve been whittling away at for a couple of years. Before I attempt to submit the manuscripts, I want to work them each into a picture book dummy to test the pacing, illustratable scenes, and page turns. Obviously, a publisher’s art director would have final say over such details, but if I, as the writer, haven’t visualized the books as a whole, my work may never see the light of day.
My experience with picture book dummies has left me feeling a bit guilty about the number of trees that have been sacrificed in the name of a mock-up. I imagined the perfect alternative. A dummy that could be reused and repurposed. One that would offer the flexibility that different projects demand. And it had to be low-tech.
 But, first things first. Once I’ve re-re-re-revised my manuscript (while consuming oodles of chocolate,) I story-board to get an overall view of the layout. The storyboard is the first dummy. It’s also handy as a planning tool, especially if you’re an outliner. You can create your own storyboard pages, of course, but here are a few sites with samples and more details about picture book construction. Cheryl Klein’s Words, Wisdom, Art, and Heart, Tara Lazar’s Picture Book Construction, Editorial Anonymous’ Basic Book Construction, Uri Shulevitz’s How to Make a Storyboard, Drawn’s idiot proof picture book dummy.
Now, it’s time to test the page turns. The aim is always to keep a reader interested enough to turn the page again and again. The best way to visualize the story as a book is to break it up into actual pages and read aloud. That’s where my own dummy for dummies will come into play. It’s a humble new tool, but it’s become mighty handy.
Donna’s Picture Book Dummy for Dummies.
 |
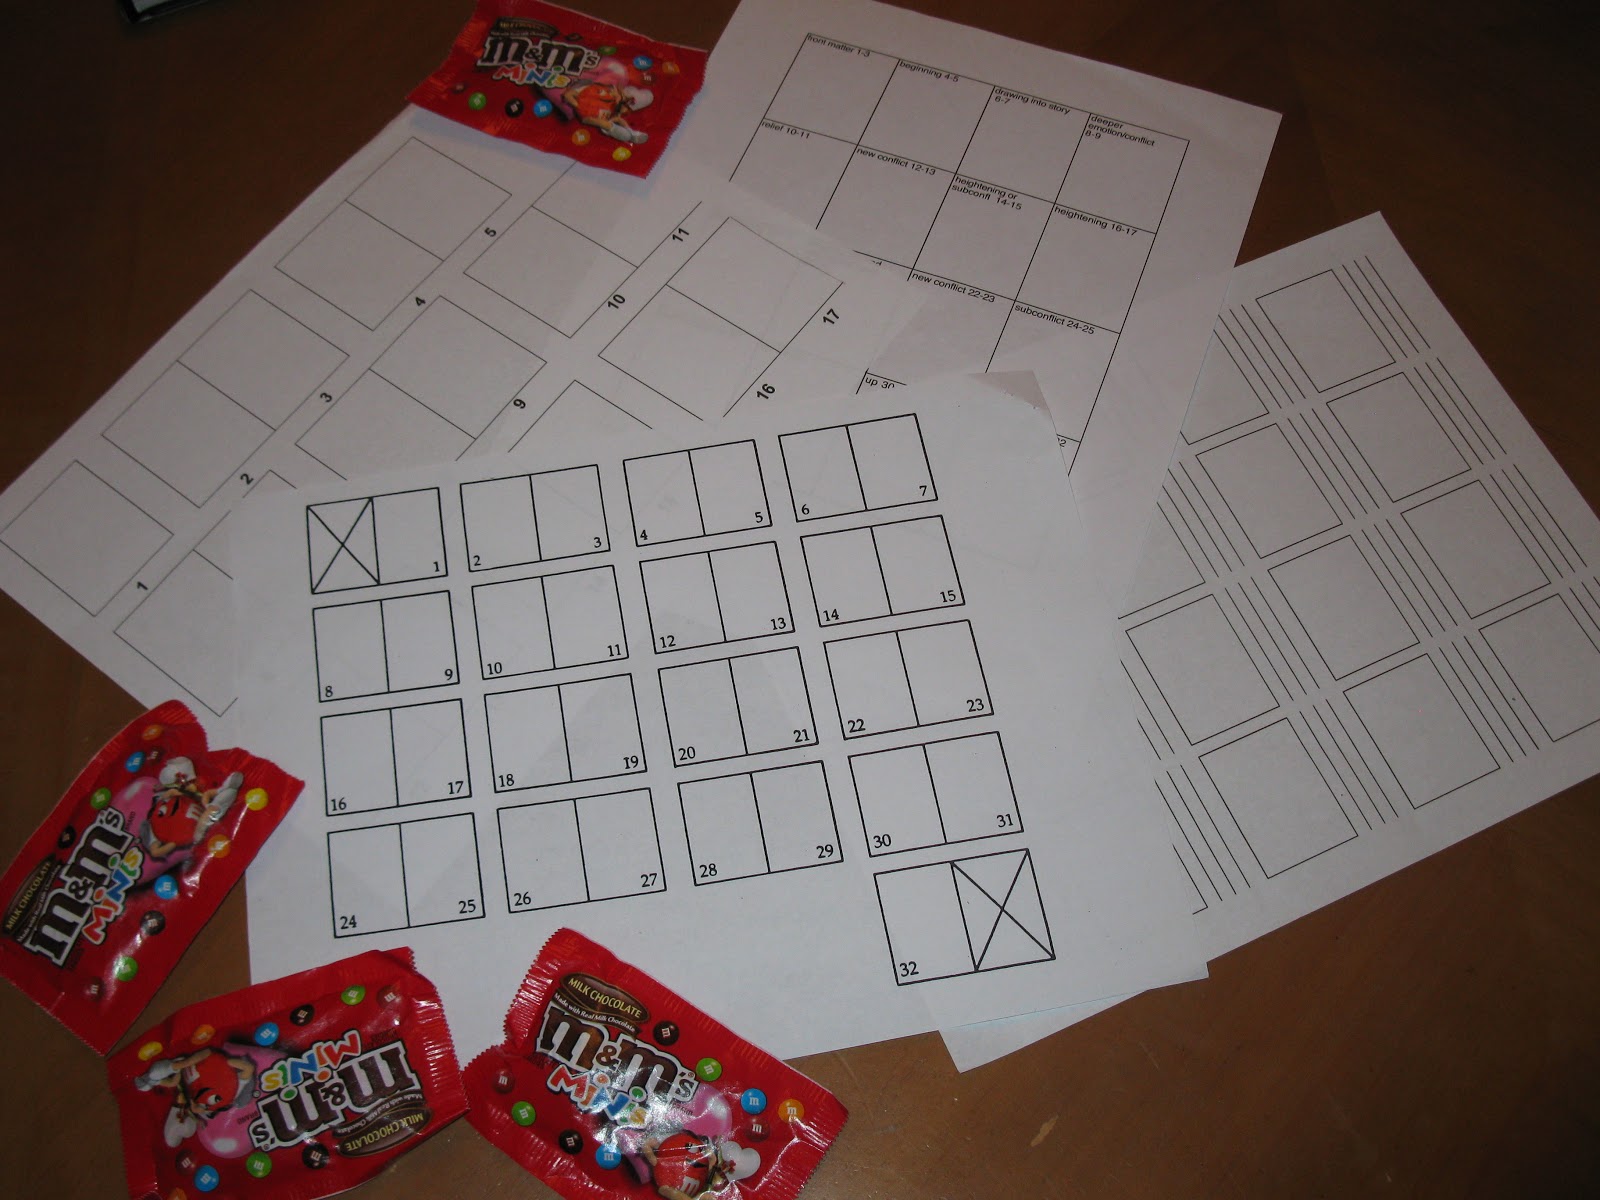
An inexpensive three-ring binder will allow me to move pages around as needed.
Twenty-four laminated sheets of white paper will represent a 32 or 48 page book. I chose white paper to avoid color-vibe that might distort the underlying emotion of my text as I read. (I know, geeky, huh?) I had the lamination done at my local office supply store and it was ready within thirty minutes. (Note to self: next time, watch for store coupons.) Note the use of dry erase or wet erase markers. I can make easy text changes with the aid of the ten little erasers attached to my hands.

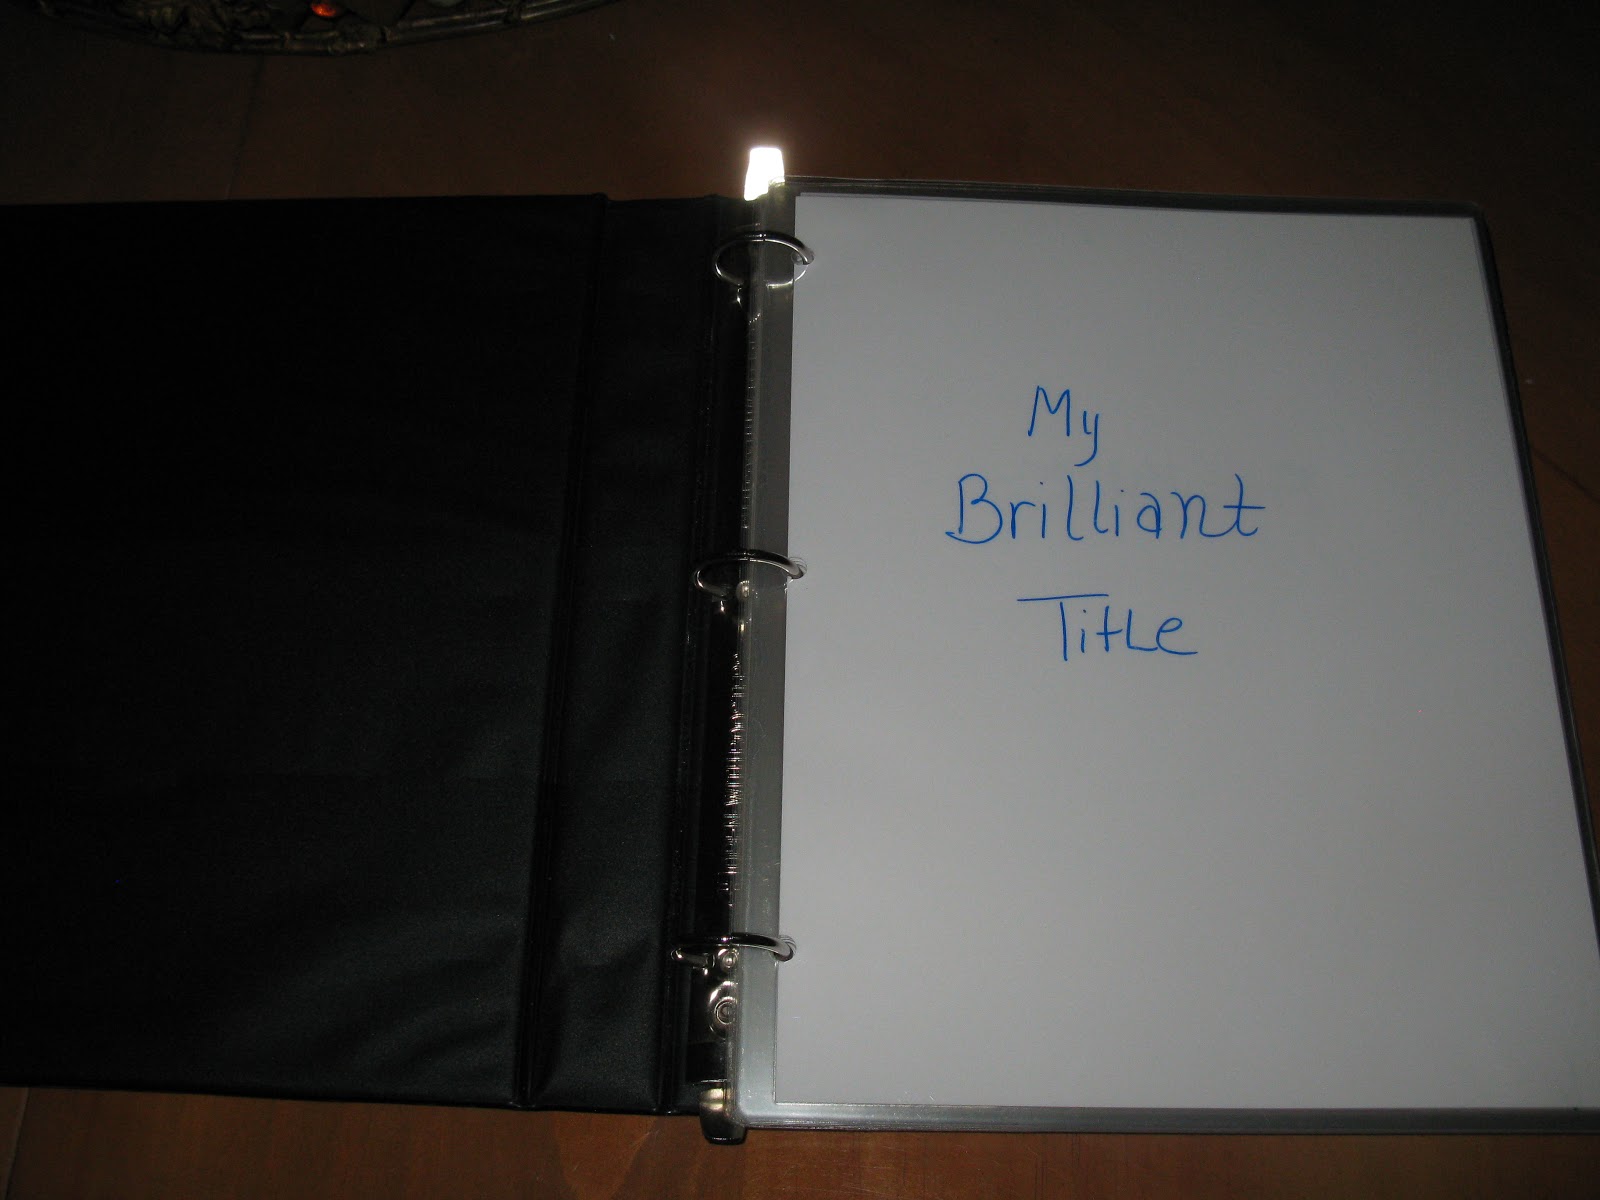
The particular organization of front matter in picture books varies. I wanted to create the actual page-turn feel of the book so I dedicated pages one, two, and three to the title, copyright, dedication, acknowledgements, and other front matter. I’ll ignore these mock pages, of course.

There is no set-in-stone rule about where the printed text begins. Most often, it begins with a hook on page 3 or with a double page spread on 4-5. I can rearrange my pages as the story dictates. I can write out the text on the page with my fine-tip markers, cut and paste from my manuscript and tape onto these pages, or use the old standby sticky notes if the order is still in question.
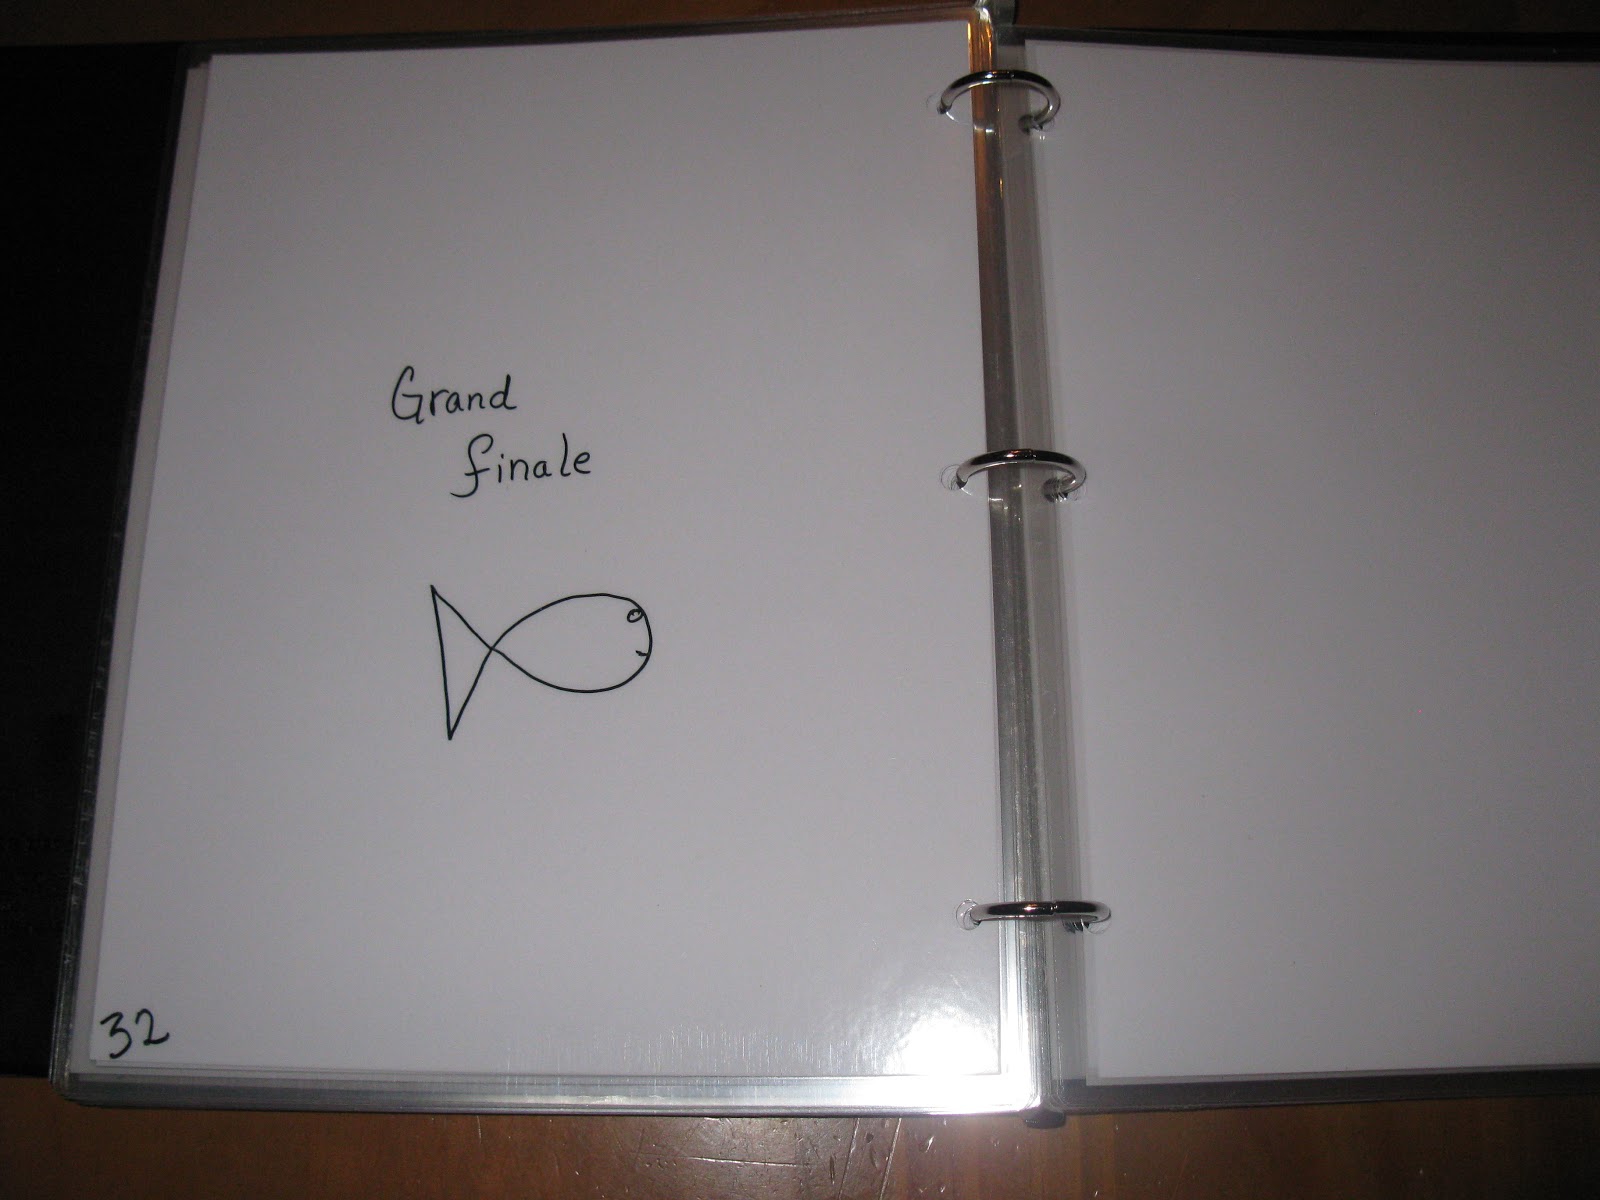
Thanks to my multi-colored dry/wet erase markers, I can even doodle some very bad illustrations that nobody else will see. Once the story is dummied onto these shiny pages, I can read the text aloud to gauge the cadence, the flow, the rhythm of the story.Best of all, I’ll re-use these pages over and over again. Mother nature will thank me.
